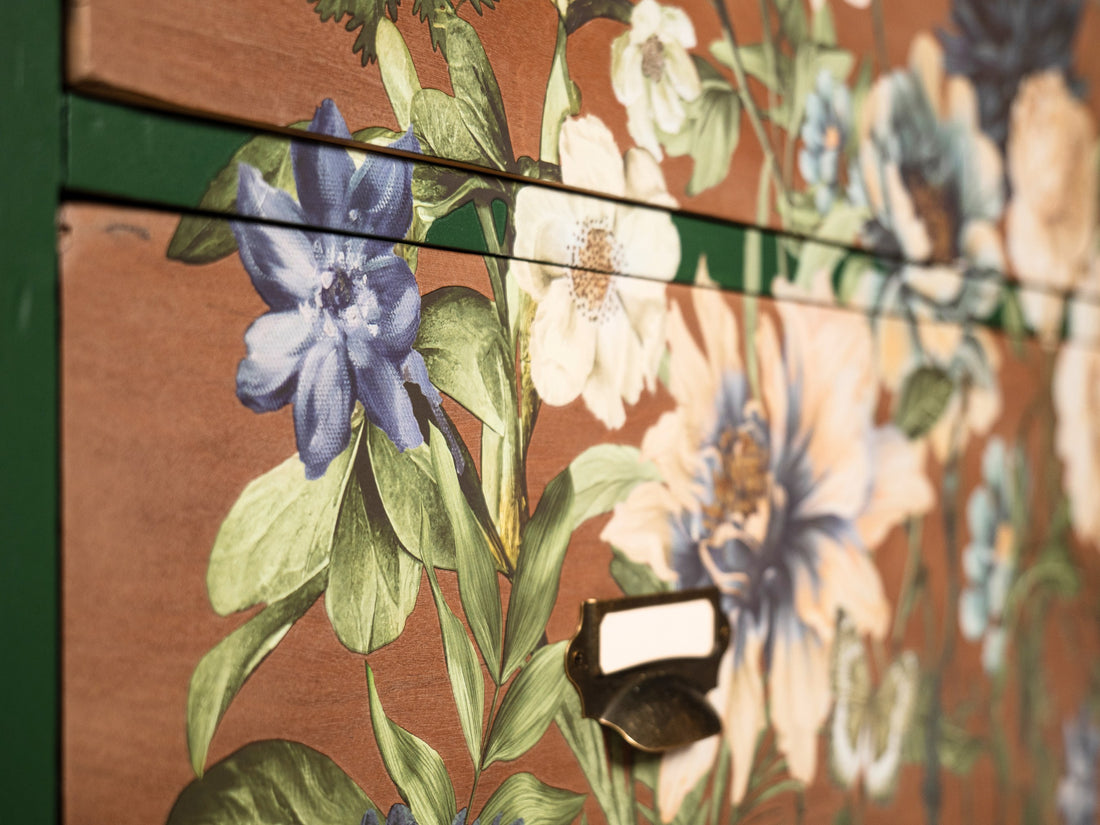
Adding transfers to furniture is a creative way to give a new look to your old or plain furniture pieces. Transfers, also known as decals or rub-ons, are images or designs printed on a special paper or film that can be applied to various surfaces, including furniture. Here's a step-by-step guide on how to add transfers to furniture:
1. Choose the right transfer: First, select a transfer that complements the style and size of your furniture. Transfers can be found online & in craft stores, some even create their own using a printer and transfer paper.
2. Clean the surface: Before applying the transfer, make sure the furniture surface is clean and free of dust, dirt, or grease. You can use a mild soap and water solution or a furniture cleaner to clean the surface. Allow the furniture to dry completely before proceeding. Transfers can be applied to bare wood, a painted finish and many other surfaces. 
3. Prepare the transfer: Select the parts of the transfer design you want to use, you may want to use the whole design with no need to cut. Some transfers may require you to peel off a protective backing.
4. Position the transfer: Place the transfer on the furniture surface, making sure it's properly aligned and centered. You can use painter's tape to hold the transfer in place temporarily.
5. Apply the transfer: Using a burnishing tool, such as a plastic scraper or an old credit card, gently rub the transfer onto the furniture surface. Start from the center and work your way outwards, applying even pressure to ensure the transfer adheres properly. Be careful not to stretch or tear the transfer during this process.

6. Remove the backing (if applicable): If your transfer has a protective backing or film, carefully peel it away, making sure the transfer remains on the furniture surface. If any part of the transfer lifts, gently press it back down and burnish again.
7. Seal the transfer: To protect the transfer and ensure its longevity, apply a clear sealer or topcoat over the transfer and surrounding area. You can use a water-based polyurethane, clear wax, or another suitable sealer. Follow the manufacturer's instructions for application and drying times.
8. Allow the transfer to dry: Give the transfer and sealer ample time to dry, as recommended by the product instructions. Avoid using or touching the furniture during this time to prevent smudging or damage.

Once the transfer is dry and secure, your furniture will have a fresh, updated look with a unique and personalised touch.
You can buy this chest of drawers here
https://www.gracieshouse.co.uk/products/vintage-mahogany-painted-chest-of-drawers
My favourite brand of furniture transfers is Redesign with Prima, you can purchase these products using my affiliate links here:
🇬🇧 https://www.justlikehomeinteriors.com